
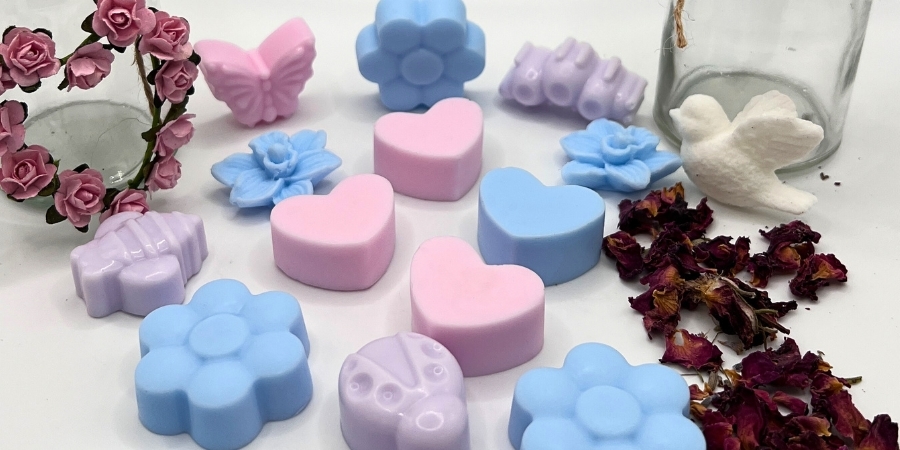
Making your own soap has never been easier: the melt & pour method. Making your own soap is a fun hobby to get started with at home. Not only is it an enjoyable activity, but you can also make the soap exactly the way you want it. There are thousands of beautiful moulds to be found online, so you can create the ultimate soap in all sorts of shapes and scents. The easiest way to make soap is with moulded soap. This is also known as the melt and pour method.
What is melt-and-pour soap?
Melt-and-pour soap is the easiest way to make soap. As the name suggests, all you have to do is melt the soap and pour it. Traditional soap-making methods, such as the cold process, can be a fiddly job and require a lot of raw materials. With melt-and-pour soap, you can make beautiful bars in no time at all; you can easily choose the base you want and then add a fragrance or additives.
What are the benefits of moulded soap?
The advantage of moulded soap is that it’s incredibly easy to make. Because moulded soap can be used in so many different ways, it is appealing to both beginners and experienced soap makers.
Safety
One of the biggest advantages of melt-and-pour soap is safety. Melt-and-pour soap is ready to use when you buy it. So all you have to do is pour it and add whatever you like. Traditional soap is made from scratch using raw materials such as lye. If you’re working with sodium hydroxide (lye), you need to proceed with caution and wear protective gear. You’ll also need to test the soap’s pH afterwards to check that it’s safe to use. This isn’t necessary with melt-and-pour soap.
Consistent quality and speed
Making traditional soap using the cold process method is a bit trickier. You need to combine the ingredients at the right temperature and at the right moment. If you don’t get the proportions right or the temperature isn’t correct, your soap may turn out differently than intended. You don’t have this problem with moulded soap. The soap is ready to pour and you can use it within minutes. You don’t need to worry about the pH either.
Endless creations
Moulded soap is an incredibly versatile product. There are many different types of moulded soap available. The vegetable glycerine soap base is the most commonly used among soap makers. We mainly use Stephenson’s moulding soap. You can use this for all sorts of lovely creations. For example, to make beautiful soap bars or to mould shaped soaps. The great thing about moulding soap is that you can add whatever you like. Think, for example, of dried flowers, perfume, colourants or exfoliating ingredients.
How to make your own soap using the melt-and-pour method
- Choose a soap base: There are various options available, such as glycerine, shea butter or olive oil. See which one suits your end product best.
- Melt the soap base: There are two ways to do this. You can gently heat the soap in the microwave or using the bain-marie method. Make sure you stir the soap regularly and, once it has melted, do not continue heating it for too long.
- Add ingredients: This allows you to put your own spin on the soap. Add essential oils, colourings or other additives.
- Pour into the mould: Spray the mould with alcohol before pouring. This will ensure that any air bubbles that form during pouring disappear immediately. Then leave the mould to cool
- Remove the soaps from the mould: After about half an hour, the soaps are ready to be removed from the mould. Did one of your soaps not turn out quite right? No problem – you can simply remelt it and pour it again.
Het maken van zeepjes met gietzeep is dus heel makkelijk. Dat maakt het ook een leuke activiteit om het met kinderen te doen. Daarna kunnen de zeepjes eventueel nog versierd of mooi verpakt worden.
Need some inspiration? Be sure to check out our range of soaps on our website or on Instagram!

